Table of contents

As a Python developer, it's important to ensure the quality and maintainability of your code. One way to do this is by using Pylint, a popular code analysis tool for Python. In this blog post, we'll go over how to use Pylint in GitHub Actions to automatically analyze your Python code.
Prerequisites
A GitHub account
A repository with Python code
A requirements.txt file with
Pylintlisted in it.
Setting up Pylint with GitHub Actions
Create a new file in your repository named
.github/workflows/pylint.yml.Add the following code to the file:
 name: Pylint

 on: [push]

 jobs:
   build:
     runs-on: ubuntu-latest
     strategy:
       matrix:
         python-version: ["3.8", "3.9", "3.10"]
     steps:
     - uses: actions/checkout@v2
     - name: Set up Python ${{ matrix.python-version }}
       uses: actions/setup-python@v2
       with:
         python-version: ${{ matrix.python-version }}
     - name: Install dependencies
       run: |
         python -m pip install --upgrade pip
         pip install -r requirements.txt
     - name: Analysing the code with pylint
       run: |
         pylint $(git ls-files '*.py')
This YAML file defines a GitHub Actions workflow that will run Pylint on all Python files in your repository.
Commit and push the changes to your repository.
GitHub Actions will now automatically run Pylint on all Python files in your repository whenever you push changes.
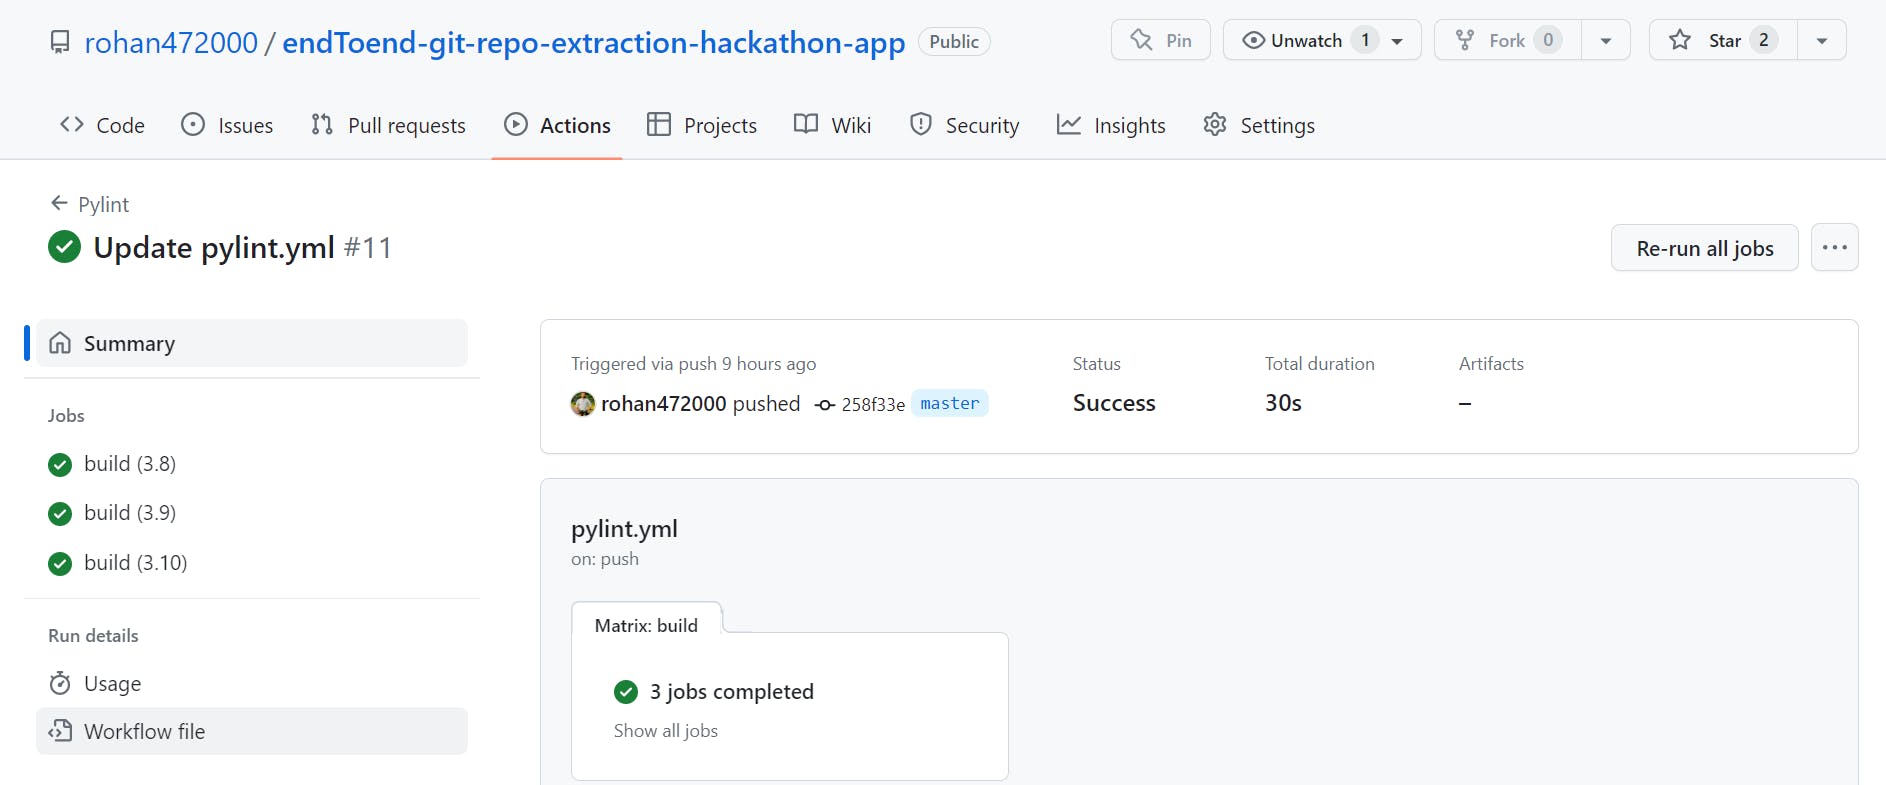
You can view the Pylint results in the Actions tab of your repository.
Conclusion
Using Pylint in GitHub Actions is an easy and effective way to ensure the quality and maintainability of your Python code. By automatically running Pylint on your code, you can catch errors and potential issues early, allowing you to fix them before they become a problem. With just a few simple steps, you can set up Pylint in your repository and start analyzing your code today.

